
What to Expect on Your First Sunrise Flight
A walkthrough of what happens from arrival to landing. Covers pre-flight briefing, balloon inflation, the ascent, and what the landing experience feels like.
Read Guide
Master the techniques for stunning aerial shots from your hot air balloon experience
You've got your flight booked and you're excited. Thing is, most people show up with their phone camera and get mediocre shots — blurry, washed out, or totally missing the best moments. The good news? You don't need expensive gear or years of experience. You just need to understand how altitude changes your settings, how to frame landscape shots properly, and how to handle the unique lighting conditions at sunrise.
This guide walks you through the actual techniques that work. We're covering smartphone and DSLR approaches, specific camera settings, composition tricks, and how to avoid the common mistakes people make on their first balloon flight. By the time you go up, you'll know exactly what to do.
Light behaves differently 1,000 feet above the ground. There's less atmospheric haze, the sun hits at sharper angles, and colors get more saturated. But here's the catch — that same clarity means harsh shadows and blown-out skies if you're not careful.
Most sunrise flights happen between 5:30 and 7:00 AM. That golden hour light is genuinely magical, but it's directional. You'll want to position yourself so the sun is either behind you (creating backlit landscape drama) or at a 45-degree angle (side lighting that adds depth to rolling fields). Shooting directly into the sun? Don't. You'll get silhouettes, which can work sometimes, but usually just looks flat.
Key insight: The hour after sunrise is your best window. Light's softer then, contrast is manageable, and colors actually look like what you see with your eyes.

Editorial Team
Written by the taviopath Skies editorial team, focused on honest, practical information about countryside balloon flights and authentic landing experiences.
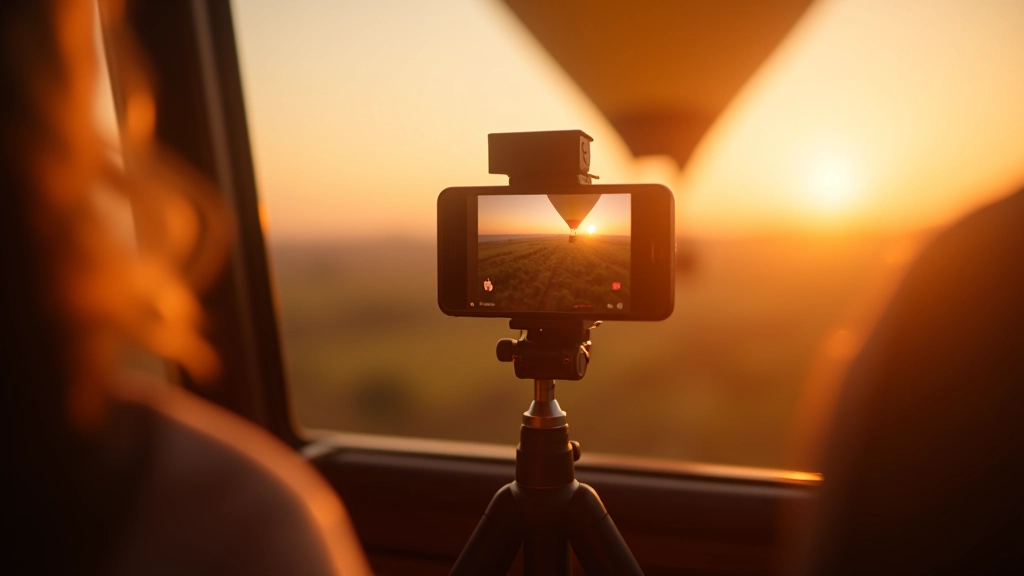
Let's talk specifics. If you're using a smartphone — which honestly captures great shots nowadays — switch to manual mode if your phone supports it. Set your exposure compensation to -0.5 or -1.0. This prevents the bright sky from washing out your entire image. Don't touch the white balance. Auto usually nails it at altitude.
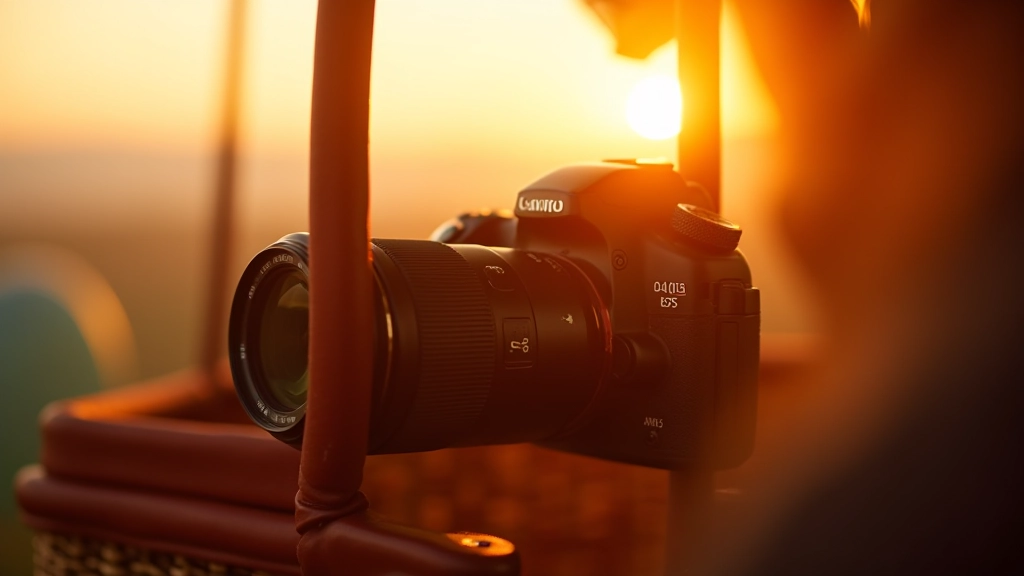
For DSLR users: start with ISO 400, aperture f/5.6 to f/8, and shutter speed 1/500 or faster. Why? Wind and vibration from the balloon mean you need faster shutter speeds than you'd use on the ground. Higher ISO is fine at sunrise because the light's good anyway. Underexpose slightly — shoot at -0.3 to -0.7 EV — then brighten in post. It's way easier to recover shadow detail than blown-out highlights.
A walkthrough of what happens from arrival to landing. Covers pre-flight briefing, balloon inflation, the ascent, and what the landing experience feels like.
Read Guide
Understanding wind patterns, temperature inversions, and seasonal conditions in the taviopath countryside. Learn what weather means for your flight timing and experience.
Read Guide
The history behind the champagne ceremony, what's included in your celebration, and why this tradition connects balloon flights across the world.
Read GuideComposition separates okay photos from ones people actually want to print. From altitude, you've got a genuine advantage — the landscape below is genuinely beautiful. Rolling fields, forests, rivers creating natural lines. Use them.
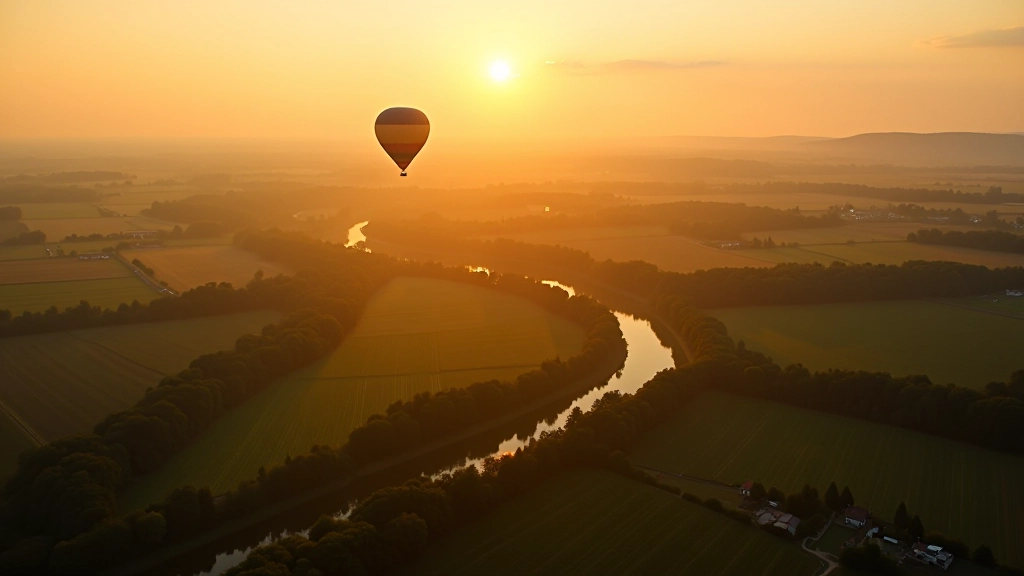
Rule of thirds: imagine a tic-tac-toe grid on your screen. Put the horizon on the lower third line, not in the middle. This creates tension and interest. Leading lines are your friend too. If there's a river or road curving below you, use it to lead the viewer's eye through the image. Get the balloon shadow in the shot sometimes — it's actually a neat element that grounds the photo and tells the story of where you are.
These camera settings and composition techniques are general guidance based on typical sunrise balloon flight conditions. Actual conditions vary depending on your specific flight date, location, weather, and time of year. Always follow your pilot's safety instructions regarding camera use — some flights have specific guidelines about where you can position yourself or what equipment is allowed in the basket. Test your camera settings on the ground before your flight, and bring backup batteries since you'll be shooting more than you think.
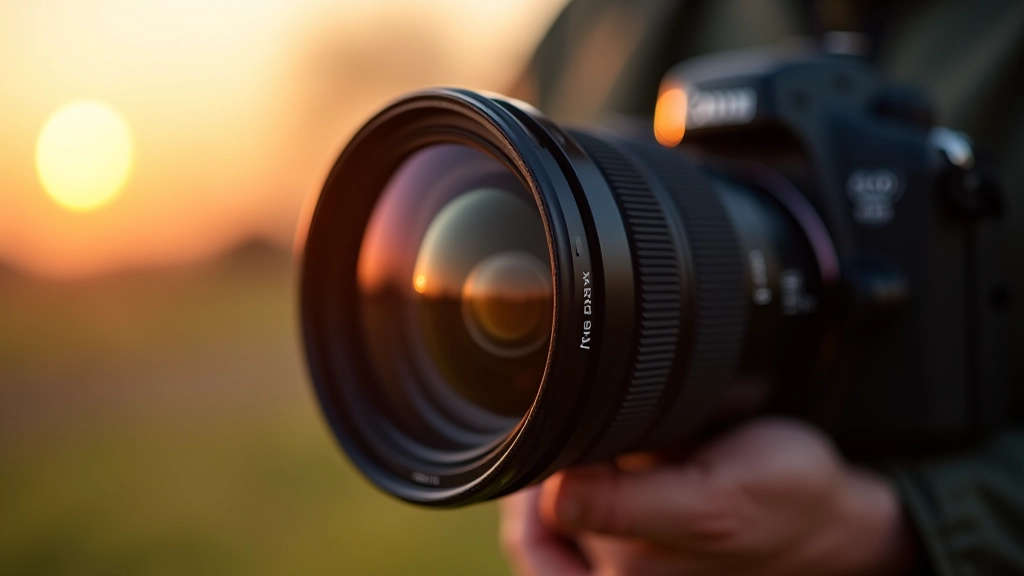
You don't need fancy gear, but certain tools help. A wide-angle lens (14-35mm) is ideal for balloon shots. You're trying to capture the vastness of what's below. Telephoto lenses feel natural but they compress the landscape and lose the "wow" factor of altitude.
Polarizing filters help with glare and deepen blue skies, but they're tricky in a basket — too much hassle to change mid-flight. Skip it. Bring a lens cloth. Seriously. Moisture condenses on your lens more than you'd expect at altitude, especially if the balloon's envelope is slightly damp from morning dew. A single swipe makes a huge difference.
For smartphones, you're working with what you've got. Most phones have a standard wide-angle built in. Avoid the digital zoom — it just makes everything blurry. Shoot at 1x and crop later if needed.
The biggest mistake people make? They focus so hard on getting the perfect photo that they forget to actually experience the flight. You'll get good shots if you follow these guidelines. But the real memory? That's watching the sunrise paint the countryside below, feeling the basket sway gently, and realizing you're actually floating above the world. The camera just captures what you already saw.
Arrive early, test your settings on the ground, and bring extra batteries. Talk to your pilot about the best spots in the basket for photography. Most pilots have done this hundreds of times and they know where the light works best. Then just shoot. You'll be amazed at what you capture.